| Windshield |
Laminated safety glass with a plastic interlayer |
Designed to remain bonded after impact and help prevent occupant ejection. It also supports roof structure and airbag performance. |
Use a vehicle-correct windshield with the same sensor, camera, tint band, and acoustic features as the original. |
About 1–3 hours, plus the required safe-drive-away curing time |
Medium to high |
Check rain or light sensors, forward-facing cameras, head-up display compatibility, antenna connections, molding, and calibration requirements. |
| Front Door Window |
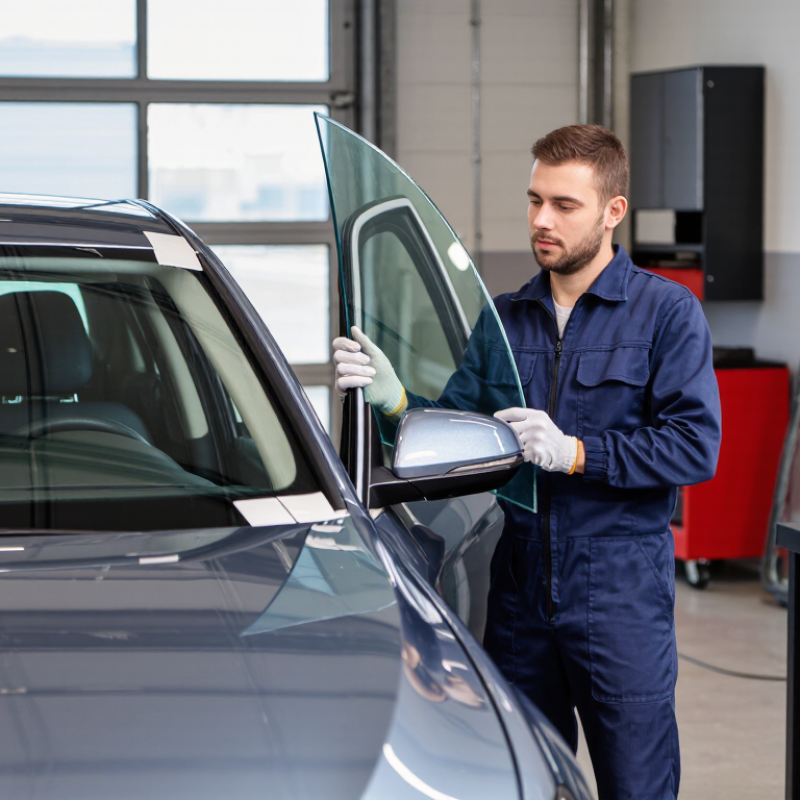
Tempered safety glass, usually with a movable regulator system |
Tempered glass is heat-treated to break into small granules instead of long sharp shards. It commonly operates with power or manual window hardware. |
Choose glass with the correct shape, thickness, tint, mounting points, and regulator compatibility. |
About 1–2.5 hours |
Low to medium |
Confirm whether the vehicle uses privacy tint, laminated side glass, acoustic glass, one-touch operation, or an integrated glass carrier. |
| Rear Door Window |
Tempered safety glass or laminated glass on selected vehicles |
Provides side visibility and occupant protection. Some vehicles use laminated side glass for noise reduction or enhanced intrusion resistance. |
Match the original glass construction and verify the window channel, regulator, tint, and shade pattern. |
About 1–2.5 hours |
Low to medium |
Compare the original glass marking and confirm whether the panel is fixed, movable, privacy-tinted, or equipped with a solar-control coating. |
| Quarter Glass |
Usually tempered glass; sometimes laminated or bonded glass |
Often improves side visibility and body sealing. It may be installed with a gasket, clips, adhesive, or a complete trim assembly. |
Replace with the exact body-side shape and use the correct clips, seal, or approved adhesive system. |
About 1–3 hours |
Low to medium |
Inspect the surrounding trim and body flange. Incorrect fit can cause wind noise, water leaks, and trim movement. |
| Fixed Side or Rear Glass |
Tempered or laminated glass, depending on the vehicle design |
May include privacy tint, defrost elements, antenna circuits, solar-control layers, or acoustic construction. |
Match the original glass markings, electrical connections, tint level, and adhesive installation method. |
About 1.5–4 hours |
Medium |
Check whether the glass is bonded directly to the body and whether removal could damage trim, wiring, clips, or painted surfaces. |
| Rear Liftgate or Backlight |
Usually tempered glass with integrated defroster lines |
May include heating elements, wiper hardware, antenna circuits, hinges, handles, and embedded electronic connections. |
Use a glass panel with matching defroster terminals, wiper openings, tint, mounting points, and wiring layout. |
About 2–4 hours |
Medium to high |
Test the defroster and wiper after installation. Avoid placing tools or labels over the heating elements during the repair. |
| Laminated Side Glass |
Two glass layers bonded around a plastic interlayer |
Can reduce road noise and may provide improved resistance to penetration compared with ordinary tempered side glass. |
Choose laminated glass only when the vehicle originally uses it or when the replacement is specifically approved for that application. |
About 1–3 hours |
Medium to high |
Confirm thickness, weight, regulator capacity, door-panel clearance, tint, and compliance markings before ordering. |
| Acoustic Glass |
Laminated glass with a sound-reducing interlayer |
Helps reduce certain wind, tire, and traffic frequencies. It does not eliminate all road noise and may be fitted only in selected locations. |
Use the same acoustic specification when quietness is a priority and the vehicle was originally equipped with it. |
About 1–3 hours |
Medium to high |
Check the original glass markings and confirm that the replacement has the correct acoustic construction and dimensions. |
| Solar-Control or Tinted Glass |
Heat-treated or laminated glass with a factory tint or coating |
Can reduce glare, visible light, and solar heat entering the cabin. Factory glass tint is different from aftermarket film. |
Match the original visible-light transmission, color, coating, and legal requirements for the vehicle’s location. |
About 1–3 hours |
Low to medium |
Do not assume all “privacy glass” has the same darkness or heat-rejection performance. Verify the glass marking and local regulations. |
| Glass With Driver-Assistance Sensors |
Vehicle-specific laminated windshield, sometimes with special optical areas |
Supports forward cameras, lane monitoring, automatic emergency braking, traffic-sign recognition, or rain and light sensors. |
Select a precisely compatible windshield and complete camera or sensor calibration when required. |
About 2–5 hours, depending on calibration |
High |
Verify camera bracket position, optical clarity, sensor gel or mounting pad, heating elements, and calibration procedures before installation. |
| OEM-Equivalent Glass |
Glass manufactured to match the vehicle’s original dimensions and specifications |
Usually offers the closest match for fit, markings, tint, hardware, and vehicle-specific features. |
Best choice when exact fit, original features, warranty requirements, or advanced driver-assistance systems are priorities. |
Depends on the glass area and vehicle design |
Medium to high |
Confirm the part specification rather than relying only on the vehicle year, make, and model. Production changes can affect compatibility. |
| Aftermarket-Compatible Glass |
Safety glass produced to applicable vehicle-glass standards and the required dimensions |
Can provide a suitable replacement when dimensions, safety markings, optical quality, and features are correct. |
A practical option for many vehicles when the installer verifies fit, markings, tint, sensors, and included hardware. |
Depends on the glass area and vehicle design |
Low to medium |
Inspect the glass before installation for distortion, chips, edge damage, incorrect tint, missing brackets, or incompatible sensor areas. |
| Professional Installation |
Uses the correct safety glass, adhesives, primers, seals, and installation tools |
Reduces the risk of leaks, wind noise, glass movement, trim damage, poor bonding, and incorrect sensor alignment. |
Recommended for bonded glass, windshields, camera-equipped vehicles, and any replacement involving electrical connections. |
Often 1–5 hours, excluding extended curing or calibration time |
Medium to high |
Ask about adhesive cure time, safe-drive-away time, calibration, warranty coverage, leak testing, and disposal of broken glass. |
| DIY Replacement |
Only suitable for limited components and experienced repairers with proper tools |
Incorrect removal or bonding can cause injury, water intrusion, glass separation, structural problems, or malfunctioning safety systems. |
Generally avoid for windshields and bonded glass unless the installer has professional training and the required equipment. |
Highly variable |
Lower direct labor cost, but higher risk of rework or damage |
Follow the vehicle repair instructions, use approved materials, wear eye and hand protection, and never drive before the adhesive has fully cured. |
| Final Quality Check |
Applies to every replacement window and glass type |
Confirms safe visibility, proper sealing, correct operation, clean trim installation, and functioning electrical or driver-assistance features. |
Complete the inspection before accepting the vehicle and before normal driving. |
About 10–30 minutes after installation, excluding curing and calibration |
Included in a proper installation process |
Check for distortion, chips, scratches, leaks, wind noise, loose trim, window operation, defroster function, and required sensor calibration. |
|
Cost and time categories are general planning estimates rather than fixed prices. Actual requirements vary by vehicle design, glass location, safety-system equipment, local labor rates, replacement part specification, adhesive curing conditions, and calibration needs. Always verify the exact vehicle configuration and applicable safety regulations before ordering or installing replacement glass.
|