Top Tips for Replacing Galvanized Pipes Effectively?
Replacing Galvanized Pipes can be a daunting task for many homeowners. These pipes often corrode over time, leading to leaks and potential water quality issues. Understanding the challenges and solutions involved in this process is crucial.
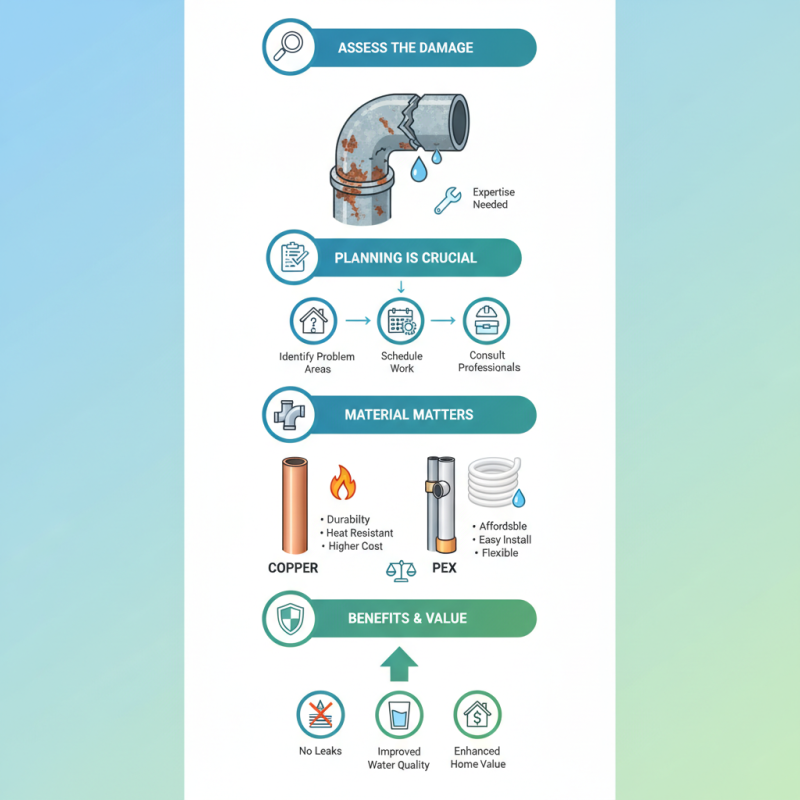
When embarking on replacing galvanized pipes, having a solid plan is essential. It's important to assess the extent of the corrosion and determine which sections need replacement. This is where expertise comes in handy, as minor leaks can escalate into major problems if not handled promptly.
Moreover, choosing the right materials is vital. Copper or PEX are popular alternatives, but each has its pros and cons. Some might find themselves overwhelmed by the options. Gathering advice from professionals can provide clarity in making the best choice. Taking the time to research and reflect on the process can lead to a more successful project. A well-executed replacement can not only eliminate plumbing issues but also enhance the overall value and safety of your home.
Understanding Galvanized Pipes: Characteristics and Issues
Galvanized pipes have been a common choice for plumbing systems in many homes. These pipes are made of steel coated in zinc. This coating prevents rust, but it can wear away over time. When this happens, the pipes may start to corrode and rust internally, leading to potential leaks. Homeowners need to recognize these risks early.
Many older homes still have galvanized pipes. One major issue is reduced water flow due to mineral buildup inside the pipes. This can result in low water pressure. Homeowners may also notice discoloration in their water, which can indicate rust. If you experience any of these problems, it might be time to consider replacing these pipes.
Replacing galvanized pipes is not a simple task. It requires knowledge about plumbing systems. Understanding the layout of your plumbing is essential. Using the right tools and techniques is crucial for a successful replacement. Many homeowners find it helpful to consult with professionals. This advice can prevent unnecessary mistakes. A careful approach will ensure that the new piping system functions efficiently.
Top Tips for Replacing Galvanized Pipes Effectively
When to Consider Replacing Galvanized Pipes: Signs of Wear and Damage
Galvanized pipes can pose significant risks if they show signs of wear and damage. Homeowners should be vigilant. Common indicators include low water pressure and frequent leaks. Corrosion can cause water discoloration, often appearing rust-colored. If your water is brown, there’s a strong chance your pipes are deteriorating.
When you notice metallic taste in your water, it’s time to act. This taste can be a signal of pipe rusting. A simple yet effective method to check for leaks is to inspect water meter readings. If the meter runs while no water is in use, there could be an undetected leak.
Consider replacing galvanized pipes if you're facing persistent issues. Hiring a plumbing professional can help assess the situation effectively. This experience brings valuable insights. Ensure you discuss potential alternatives, like PVC or copper pipes. Regular maintenance can also prolong the lifespan of your new plumbing system. Inspect your pipes frequently for any emerging problems. Don’t let neglect lead to costly repairs later.
Choosing the Right Replacement Material for Galvanized Pipes
Choosing the right replacement material for galvanized pipes is crucial for effective plumbing upgrades. Galvanized pipes often corrode and cause water quality issues. A common replacement option is copper. Copper is durable and naturally resistant to corrosion. According to the Copper Development Association, copper plumbing can last over 50 years with proper installation.
PVC (polyvinyl chloride) is another popular choice for piping systems. It is lightweight, resistant to rust, and affordable, making it attractive for homeowners. A report from the American Society for Testing and Materials highlights that PVC pipes can be effective for more than 25 years, depending on the environment. However, PVC may not be suitable for hot-water applications.
PEX (cross-linked polyethylene) has gained popularity due to its flexibility and resistance to scale and chlorine. The National Association of Home Builders notes that PEX can withstand temperatures up to 200°F. However, contractors must be careful with fittings and connections, as improper installation can lead to leaks. Homeowners should weigh these factors, considering their specific plumbing needs and local building codes.
Step-by-Step Process for Replacing Galvanized Pipes
Replacing galvanized pipes can seem daunting, but breaking it down into a manageable process helps. Start by turning off the water supply to your home. Next, drain the system by opening the faucets and flushing the toilets. This step ensures no lingering water in the pipes, which might create a mess.
Once drained, locate the sections of galvanized pipe needing replacement. A pipe cutter or hacksaw will help you cut the pipes. Use pliers for stubborn sections. Be mindful of sharp edges; wear gloves for protection. After cutting, clean the ends of the remaining pipes with a wire brush, removing any rust.
Install the new piping carefully. Use appropriate materials, such as copper or PEX, for a lasting solution. Ensure all fittings are secure, and use plumber's tape on threaded joints to prevent leaks. Once everything is in place, turn the water back on slowly. Check for leaks at joints and connections. Don’t rush this step; it’s crucial to catch issues early. The process can be imperfect, so be prepared to adjust and refine your approach as needed.
Top Tips for Replacing Galvanized Pipes Effectively
| Step | Task | Tools Required | Time Estimate | Tips |
| 1 | Assess the Current System | Tape measure, flashlight | 1 hour | Check for leaks and corrosion. |
| 2 | Gather Replacement Materials | Pipe fittings, new piping | 30 minutes | Choose the right diameter and materials. |
| 3 | Shut Off Water Supply | Wrench | 15 minutes | Ensure all valves are correctly closed. |
| 4 | Remove Old Galvanized Pipes | Pipe cutter, wrench | 2 hours | Use caution and wear protective gear. |
| 5 | Install New Pipes | Pipe fittings, pipe wrench | 3 hours | Ensure proper alignment and secure fittings. |
| 6 | Test the System | Water supply, plumber's tape | 1 hour | Check for leaks and functionality. |
Safety Precautions and Tools Needed for Pipe Replacement
Replacing galvanized pipes is a significant task that requires careful planning and the right tools. Before starting, it’s essential to prioritize safety. According to the National Safety Council (NSC), about 4.6 million disabling injuries occur each year in the United States. This emphasizes the importance of using protective equipment and following safety protocols during your project.
Ensure you wear gloves, goggles, and a mask to protect against debris and dust. A sturdy pair of knee pads can also be beneficial when working on floors. As for tools, a pipe cutter, adjustable wrench, and pipe fitting pliers are crucial for efficient replacement. The American Society of Plumbing Engineers (ASPE) recommends having a good quality plumber’s tape on hand to ensure leak-free connections.
It's important to remember that not all pipes are the same. Some homes may have additional layers of materials that complicate the replacement process. Always check for unexpected elements, such as asbestos, which can be a health hazard. If you encounter unforeseen issues, consult a professional. Having backup plans for potential roadblocks can save valuable time and ensure safety. Each step taken during this process should reflect a commitment to thoroughness and caution.