Blog

How to Place a Window for Better Natural Light?

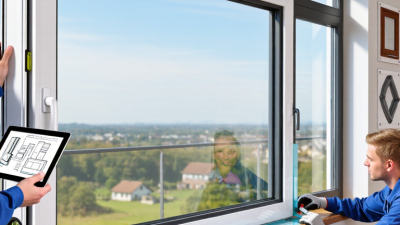
Placing a window is more than cutting an opening into a wall. It shapes how daylight moves across floors, walls, furniture, and working surfaces throughout the day. The best window place depends on orientation, room depth, climate, nearby buildings, and the activities inside the room. A south-facing window may provide useful winter sunlight, while an unshaded west-facing window can create harsh afternoon glare.

Evidence supports careful planning. The U.S. Department of Energy reports that windows can account for up to 30% of a home’s heating and cooling energy use. This makes window size, glass performance, shading, and placement important design decisions. CIBSE Guide LG 10 also treats daylight as a measurable design factor, not merely a visual preference. Its guidance considers daylight distribution, glare, and the depth of naturally lit spaces.

Light should reach people, not only the wall beside the glass. A higher window head can send daylight deeper into a room. A narrow side window may brighten a desk without overheating an entire space. External trees, neighboring buildings, and seasonal sun angles still matter. Ignore them, and a beautiful plan may perform poorly.

The WELL Building Standard connects daylight access with visual comfort and occupant wellbeing. Yet no universal window formula works everywhere. Even professional models can miss reflections from a glossy table or glare on a laptop screen. Test the proposed window place at different times of day. Review shadows, heat, privacy, and furniture positions before construction. Good placement is measured by comfort, energy performance, and everyday usability. Sometimes, the brightest room is not the most comfortable one.
How to Place a Window for Better Natural Light?

Assess the Room’s Sunlight, Climate, and Daily Use

How to Place a Window for Better Natural Light?

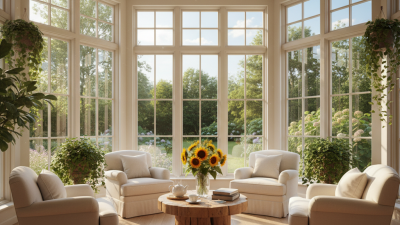
Assess the room’s sunlight before choosing a window position. Track the sun at 9 a.m., noon, and 4 p.m. for several days. A south-facing window usually receives stronger winter light in the Northern Hemisphere. East-facing glass brings gentle morning light. West-facing glass can create harsh afternoon glare and overheating.

Climate changes the answer. In hot regions, deep overhangs and external shading reduce solar heat. In cooler regions, well-positioned glazing can support passive warmth.

The 2024 Global Status Report for Buildings and Construction states that buildings use about 32% of global energy. Therefore, daylighting should reduce electric lighting without creating extra cooling demand.

Daily use matters just as much. Place a desk beside, not directly in front of, the window. This limits screen reflections and keeps the view comfortable. For a kitchen, place glazing near preparation surfaces, but avoid strong west light near food storage. Bedrooms may need softer morning exposure and reliable blackout control.

My practical mistake was judging brightness from an empty room. Furniture, curtains, and wall colors changed the result considerably.

Tips: Use a compass and a simple light meter before construction. Keep the window’s lower edge near desk height when possible. Choose light-reflective interior finishes, but test samples in real sunlight. The U.S. Department of Energy recommends balancing daylight with glare and solar-heat control. Bigger is not always better. A smaller, carefully shaded window may perform better than a large, exposed one.

Choose the Best Wall and Window Orientation

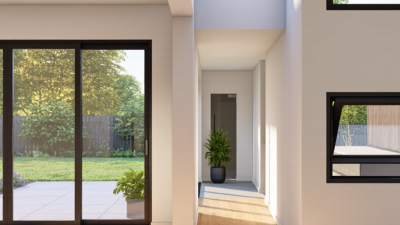
Window placement begins with the wall, not the glass size. In the Northern Hemisphere, a south-facing wall usually provides the most useful daylight across the year. Overhangs can block high summer sun while admitting lower winter light. North-facing windows deliver softer, steadier illumination, which suits studios, offices, and reading areas. East-facing glass brings gentle morning light but can create sharp glare after sunrise. West-facing glass is often the hardest to control because afternoon heat arrives when interiors are already warm.

The U.S. Department of Energy reports that windows can account for roughly 25–30% of residential heating and cooling energy use. Orientation therefore affects comfort, not only appearance. A 2021 daylighting assessment from the U.S. General Services Administration also emphasizes glare control and balanced daylight distribution in occupied spaces. Place larger openings toward the most useful sun, then reduce or shade openings facing low-angle morning or afternoon sun. Exterior shading usually performs better than interior blinds.

Check the wall with a compass or phone app before deciding. Walk through the room at 9 a.m., noon, and 4 p.m. Seasonal changes matter. Nearby trees, neighboring buildings, and roof overhangs can defeat a perfect orientation. I once assumed a bright west wall would improve a workspace; it produced screen glare instead. The better choice was a smaller opening, higher on the wall, with adjustable shading. That solution was less dramatic, but more reliable.

Set the Window Height, Width, and Placement

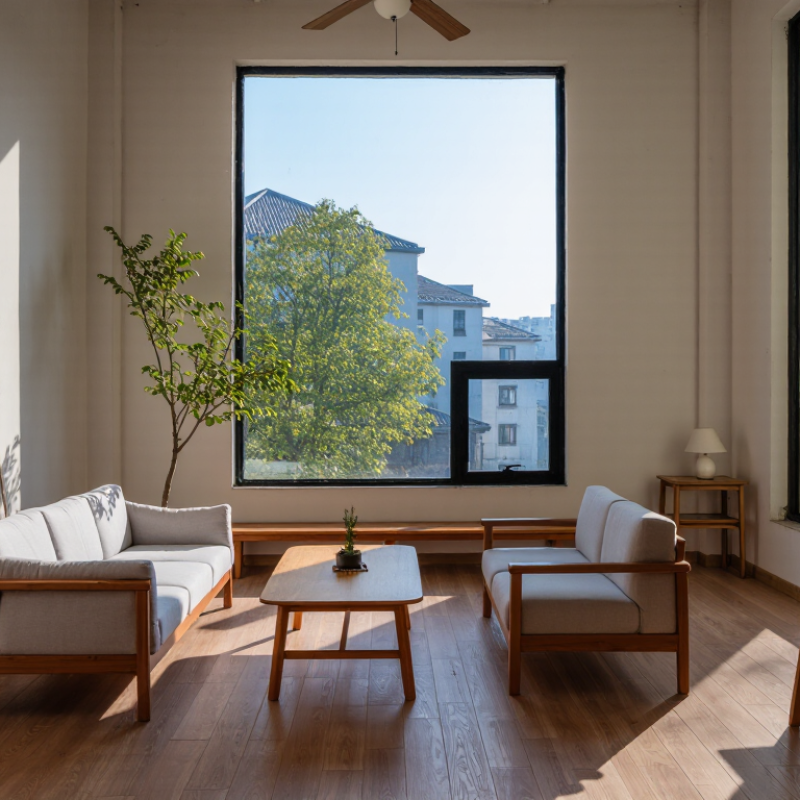
A well-placed window can make a room feel larger, calmer, and more useful throughout the day. Start with the sill height. A 30- to 36-inch sill often suits living rooms because it admits daylight while preserving furniture space. Lower sills create a stronger outdoor connection, but they may conflict with desks, radiators, or privacy needs. In bedrooms, a slightly higher sill can feel more secure.

Window width should match the room’s scale and the wall’s structure. One wide opening often spreads light better than several narrow windows. However, excessive glass can create glare and unwanted heat near south- or west-facing walls. I usually check the sun’s path at morning, noon, and late afternoon before choosing the final width. A mock-up made from cardboard can reveal problems that drawings miss.

Placement matters as much as size. Keep the window head as high as practical, often close to the ceiling, to push daylight deeper into the room. Centering it may look balanced, but alignment with a worktop, bathtub, or exterior view can be more valuable. Leave enough wall space for curtains and electrical outlets. I once placed a beautiful low window behind a sofa; the view was excellent, but the light became awkward. Good design still needs revision.

How to Place a Window for Better Natural Light?

Window height, width, and placement work together to improve daylight distribution. These planning examples use common metric window sizes and estimate useful daylight penetration at approximately 1.5 times the window head height.

Raising the window head generally allows daylight to reach farther into a room. A wider window increases the amount of glazing, while a sill height around 0.6–0.9 m can preserve outward views and provide practical furniture clearance. Actual results vary with room depth, glazing, exterior obstructions, latitude, and orientation.

Plan Glazing, Shading, and Privacy Features

How to Place a Window for Better Natural Light?

Window placement should respond to the room’s direction, daily use, and seasonal sunlight. A large south-facing window may provide strong winter light, but it can create summer glare and heat. East-facing glazing brings gentle morning light, while west-facing glass often needs careful shading in the afternoon. Before choosing the size, watch the room at different hours. I once planned a bright reading corner that became uncomfortable by four o’clock. The first plan was not perfect.

Glazing should support the room, not overpower it. Use taller windows when you want daylight deeper into a space. Consider translucent glass near bathrooms or street-facing bedrooms. Layer privacy with curtains, external screens, or adjustable blinds rather than blocking all daylight. Shading should be installed early, because furniture placement cannot solve every glare problem. Check sightlines from nearby buildings, sidewalks, and neighboring windows. A beautiful view may still feel exposed.

Tips:
Test the room with paper mock-ups before ordering windows. Mark the sun’s movement on the floor. Keep private areas away from direct public views. Choose shading that can be adjusted, not permanently closed. Ask a qualified designer to review heat, glare, ventilation, and local conditions. Small changes matter. You may need to revise the layout after observing the space for several days.

How to Place a Window for Better Natural Light? - Plan Glazing, Shading, and Privacy Features

Window Orientation Typical Daylight Pattern Recommended Glazing Strategy Recommended Shading Privacy Features Useful Design Targets Best Applications
North-facing Soft, even daylight with limited direct solar gain in the Northern Hemisphere. Use clear or neutral low-emissivity double glazing to preserve daylight while improving insulation. Use light-filtering blinds or adjustable interior shades when glare control is needed. Sheer curtains, translucent roller shades, or textured privacy glass. VLT: 55–70%
SHGC: 0.35–0.55
Studios, offices, libraries, and work areas requiring consistent light.
South-facing Strongest winter solar access and high daylight potential; direct sun can cause summer overheating. Select low-emissivity glazing with a moderate solar heat-gain coefficient and high visible transmittance. Prioritize fixed exterior overhangs, horizontal louvers, or exterior solar screens. Adjustable blinds or curtains that can remain open during low-angle winter sun. VLT: 45–65%
SHGC: 0.25–0.40
Living rooms, dining rooms, and passive-solar spaces.
East-facing Low-angle morning sun can create glare and uneven brightness, especially in bedrooms and workspaces. Use low-emissivity glazing with moderate or low solar control; avoid excessive tint where morning light is valuable. Use exterior vertical fins, side awnings, roller shades, or adjustable blinds. Top-down or bottom-up shades allow daylight while limiting direct views. VLT: 40–60%
SHGC: 0.25–0.40
Bedrooms, breakfast areas, and morning-use rooms.
West-facing Low-angle afternoon and evening sun often produces the highest glare and overheating risk. Use solar-control low-emissivity glazing; lower visible transmittance may be appropriate where glare is severe. Install exterior vertical fins, operable shutters, external screens, or deep side overhangs. Low-reflectance blinds, curtains, or selectively applied privacy film. VLT: 30–50%
SHGC: 0.20–0.35
Rooms used later in the day, provided glare control is planned.
Clerestory or high-level window Delivers daylight deeper into a room while reducing direct eye-level views from outside. Use high-transmittance glazing with insulated frames; diffuse glass can distribute light more evenly. Use roof overhangs, light shelves, or motorized shades where the upper glazing receives direct sun. Translucent glazing is often sufficient because the window is above normal eye level. VLT: 50–70%
Sill height: Above eye level
Bathrooms, corridors, kitchens, and deep-plan living spaces.
Roof window or skylight Provides strong overhead daylight but can admit substantial solar heat and glare. Use insulated low-emissivity glazing with solar-control performance suited to the roof orientation and climate. Use exterior awnings, internal cellular shades, or automated shading controls. Diffusing glass or translucent shades can protect privacy without eliminating daylight. U-factor: Lower is better
SHGC: 0.20–0.40
Attics, stairwells, bathrooms, and rooms with limited wall area.
Street-facing window Daylight may be adequate, but direct views can create privacy concerns during both day and night. Use clear insulated glazing where views are desirable, or combine clear upper glazing with translucent lower glazing. Use adjustable blinds, curtains, or exterior screens that can be closed when needed. Apply frosted lower panels, bottom-up shades, landscaping, or a raised sill. Sill height: 900–1200 mm where appropriate
VLT: 40–65%
Bedrooms, bathrooms, home offices, and ground-floor rooms.
Window near an adjacent building Daylight may be reduced by obstruction, reflected light, or narrow separation between buildings. Use high-visible-transmittance glazing and light-colored interior finishes to improve daylight distribution. Use shading only where reflected solar glare or overheating is evident. Use translucent glazing, angled louvers, or obscured glass to maintain privacy. VLT: 55–75%
Reflectance: Prefer bright interior surfaces
Dense urban housing, side elevations, and narrow courtyards.
Corner or two-sided glazing Provides broad daylight coverage and cross-views but may increase glare and solar exposure. Use different glazing specifications by orientation when possible rather than treating every facade equally. Combine exterior shading on the sunniest facade with interior glare-control shades. Use curtains, blinds, or selective obscured panels on exposed sides. VLT: 35–65%
Control: Separate shading zones
Corner living rooms, open-plan spaces, and flexible work areas.

Design note: Visible transmittance (VLT) indicates how much daylight passes through the glazing, solar heat-gain coefficient (SHGC) indicates the fraction of solar radiation entering through the window, and U-factor measures heat transfer through the window assembly. Lower U-factor generally means better insulation.

Review Ventilation, Energy Efficiency, and Building Codes

How to Place a Window for Better Natural Light?

Window placement should support ventilation, energy efficiency, and local building codes, not daylight alone. In my residential design reviews, I often place operable windows on opposite walls to encourage cross-ventilation. Fresh air needs a path. A high window can release warm air, while a lower opening draws cooler air inside. However, an operable window cannot replace required mechanical ventilation in kitchens, bathrooms, or tightly sealed homes.

Study the room’s orientation before selecting the window size. South-facing glazing may provide useful winter sunlight but can cause summer overheating. East- and west-facing windows often need exterior shading because low-angle sunlight is difficult to control. Specify suitable U-values and solar heat gain coefficients for the local climate. Deep overhangs, blinds, and light-colored interior surfaces can also reduce heat demand. I once focused too heavily on glass area and underestimated afternoon glare. That mistake made the room bright, but uncomfortable.

Building codes may control window location, opening size, safety glazing, insulation, and emergency escape access. Bedrooms commonly require compliant escape windows, while bathrooms may need privacy glass and exhaust ventilation. Local requirements differ by region and building type, so confirm details with the permitting authority or a qualified designer. Check the sill height, opening operation, and nearby hazards during the design review. Do not guess. A beautiful window can still fail inspection or create a ventilation problem.