How to Replace a Broken Window Pane in 2026?
A cracked window changes a room quickly. Cold air slips past the frame, rain may find its way inside, and sharp glass can create an immediate hazard. This guide explains how to replace broken window pane sections safely in 2026, from checking the window type to preparing the opening. The right repair depends on what is broken. A single pane in an accessible sash may suit a careful DIY repair, while a sealed double-glazed unit usually needs professional replacement.
Start by keeping people and pets away from the damaged area. Wear eye protection and cut-resistant gloves, and avoid pressing on loose shards. Before removing anything, identify whether the glass is single-pane, laminated, tempered, or part of an insulated unit. These types are not interchangeable, and some cannot be cut or fitted with basic tools. Measure the visible opening carefully, but confirm the required glass size and thickness before ordering. A small measuring mistake can leave gaps or prevent the pane from fitting.
This article covers the practical steps, essential tools, and common warning signs that call for expert help. It also explains how glazing points, putty, or retaining strips may hold a pane in place. Details vary by window design. I once thought a simple-looking sash meant a simple repair; that assumption can be wrong. If the frame is rotten, the glass is high above ground, or the unit is sealed, pause and get qualified assistance. A sound repair should restore a secure fit, not just cover the crack.
Assess the Window Damage and Confirm the Replacement Requirements
How to Replace a Broken Window Pane in 2026?
Assessing the damage accurately is the safest starting point. Wear cut-resistant gloves and eye protection before touching the frame. Keep children and pets away. Look for loose shards, spreading cracks, damaged seals, and moisture between panes. A small crack may hide stress around the frame. It happens more often than expected.
Check whether the window has one pane or an insulated glass unit. Identify safety glass by markings on the corner, if any remain. Tempered and laminated glass require accurate replacement specifications. Measure the visible opening at the top, middle, and bottom. Record the smallest width and height, then confirm the pane thickness with a proper gauge. Do not measure only the broken glass. Frames can shift slightly over time.
Inspect the sash, glazing points, seals, and drainage channels. A replacement pane will fail if the frame is warped or rotten. Note the opening direction and any ventilation features. Before ordering, confirm the glass type, edge finish, overall dimensions, and spacer details with a qualified glazier. Large panes may need professional handling. I once trusted one measurement and received a pane that was too tight. That mistake taught me to measure twice and check the frame separately. If the opening cannot be secured, cover it temporarily with a rigid board, leaving safe clearance from sharp edges.
Gather Safety Equipment, Tools, and a Matching Replacement Pane
How to Replace a Broken Window Pane in 2026?
Gather safety equipment before touching the broken glass. Wear cut-resistant gloves, safety glasses, long sleeves, and closed-toe shoes. Keep children and pets outside the work area. The U.S. Bureau of Labor Statistics recorded 865 workplace deaths from slips, trips, and falls in 2022. A household repair deserves similar caution. Broken glass is unpredictable.
Measure the existing pane from several points, then record its width, height, thickness, glass type, and edge clearance. Small errors matter. Check for tempered or laminated markings before ordering a replacement. Insulated glass units also require the correct spacer design and seal configuration. The U.S. Department of Energy reports that windows can account for 25–30% of residential heating and cooling energy use, so a poor match may reduce comfort and increase energy loss.
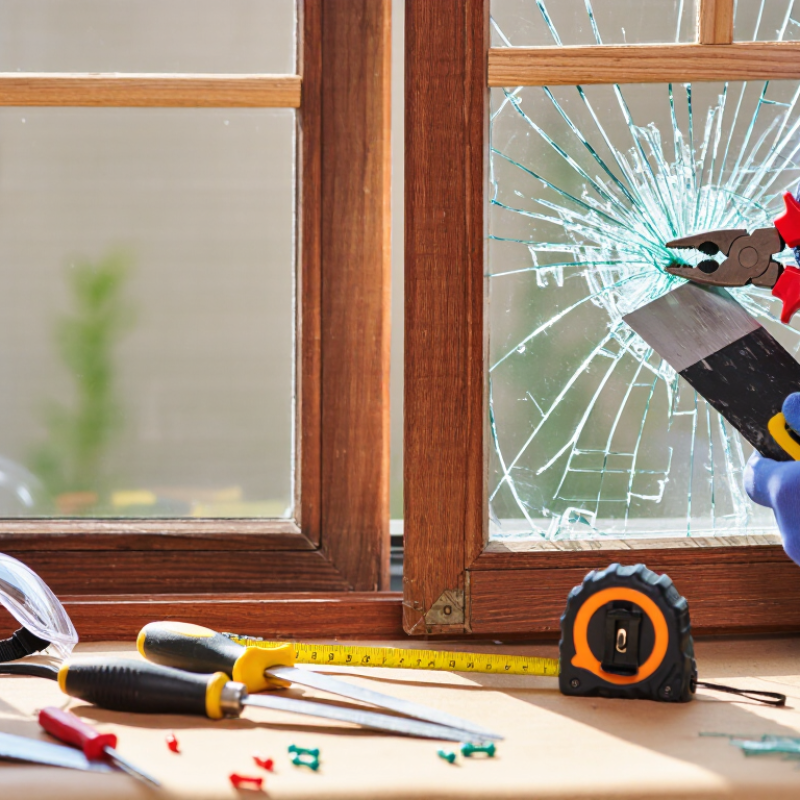
Prepare a tape measure, glazing tool, putty knife, utility knife, sealant, shims, and a stable work surface. Suction handles can improve control, but they are not a substitute for careful handling. Remove loose shards slowly, supporting the frame with one hand. I once underestimated an old sealant bead; it took longer than expected and damaged the frame edge. That mistake taught me to soften stubborn material instead of forcing it. If the sash is warped or the unit is sealed and fogged, a qualified glazier is the safer choice.
How to Replace a Broken Window Pane in 2026? - Gather Safety Equipment, Tools, and a Matching Replacement Pane
| Category |
Item |
Selection or use guidance |
| Safety equipment |
Safety glasses and cut-resistant work gloves |
Wear eye protection and gloves while handling broken glass and removing the old pane. Gloves reduce risk but do not make glass safe to handle carelessly. |
| Safety equipment |
Closed-toe shoes and a stable work area |
Keep people and pets away, protect the floor, and avoid working from an unstable ladder or with a sash that is not securely supported. |
| Safety check |
Check for lead paint and special glazing |
Older painted frames may contain lead. Follow local lead-safe requirements; do not dry-sand or create paint dust. Use a qualified professional when the risk or applicable rules are unclear. |
| Tools |
Tape measure and straightedge |
Measure the opening at more than one point and note the frame or glazing system. Confirm the required pane size and edge clearance with the supplier or system instructions. |
| Tools |
Putty knife or glazing tool |
Use an appropriate tool to remove glazing compound, glazing points, or other retainers. The correct method depends on the window frame and glazing system. |
| Tools |
Pliers, small scraper, and brush |
Useful for carefully removing old glazing points and loose residue. Clear the rebate without damaging the frame. |
| Replacement pane |
Glass matched to the existing window |
Confirm the glass type, thickness, dimensions, and required safety rating. Do not substitute ordinary glass where safety glazing is required by code or location. |
| Replacement pane |
Insulated glass unit (if applicable) |
A fogged or broken sealed double-pane unit generally requires a correctly specified replacement insulated unit, not a single sheet of glass. Consult a window-glazing professional if the unit or frame is damaged. |
| Materials |
Glazing compound or compatible sealant |
Use material suitable for the frame and glazing system. Traditional wood windows may use glazing compound; many modern windows require system-specific gaskets or sealants. |
| Materials |
Glazing points or approved retainers |
Use retainers compatible with the sash and pane. Their spacing and installation depend on the window design and manufacturer’s instructions. |
| Cleanup |
Rigid container and damp disposable towels |
Collect shards carefully in a puncture-resistant container and check the work area for fragments. Follow local rules for glass disposal. |
Remove the Broken Glass and Prepare the Window Frame
Wear cut-resistant gloves, safety glasses, and sturdy shoes before touching the damaged pane. Keep children and pets away from the work area. Place a thick blanket beneath the window to catch falling fragments. Tape large cracks from both sides, then remove the glass carefully in small sections. Start with loose pieces and work toward the firmly attached edges.
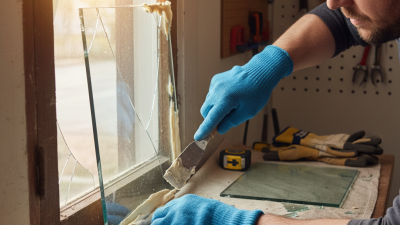
Use a putty knife to lift old glazing compound from the frame. Pull out glazing points with pliers, but do not twist them sharply. Small fragments often hide inside the channel. A vacuum with a narrow nozzle can collect them, though I still inspect the groove by hand afterward. One overlooked shard can tear a glove or prevent the replacement pane from sitting flat.
Brush away dust and scrape the frame until the surface feels even. For a wooden frame, check for soft spots, swelling, or peeling paint. Damp timber may need time to dry before new glazing begins. Metal frames require attention too; remove rust and check for bent corners. I once rushed this inspection and measured against a warped edge, creating an avoidable gap. Measure the clear opening at several points, then use the smallest width and height. Leave a slight fitting allowance, because glass should not press tightly against the frame. If the frame is twisted or severely damaged, pause and seek qualified repair help.
Install, Secure, and Seal the New Window Pane
How to Replace a Broken Window Pane in 2026?
Replacing a broken pane starts with careful preparation. Wear cut-resistant gloves and eye protection before touching the frame. Work slowly. Remove loose glass with padded tools, not bare hands. Measure the opening at several points, then order glass slightly smaller than the frame. This space allows expansion and prevents pressure cracks. Insulated, laminated, or tempered units may require professional replacement.
Clean the frame thoroughly after removing old glazing compound and fasteners. Check for rot, bent sections, or trapped moisture. My first repair looked neat, but I missed a small wood split beneath the lower edge. That weakness later affected the seal. I now inspect every corner with a flashlight before installing the new pane. Apply a thin, continuous bedding layer, then place the glass gently. Do not force it into position.
Secure the pane with glazing points or suitable retaining clips. Space them evenly, while keeping them away from the glass edge. Add fresh glazing compound around the perimeter and tool it into a smooth slope. Leave no pinholes or visible gaps. Use a compatible exterior sealant where the frame meets the glass, but avoid blocking drainage paths. A seal that looks perfect can still fail if the surface is dusty. Allow the compound to cure according to its instructions before painting or exposing it to heavy rain.
Inspect the Finished Repair and Dispose of Broken Glass Safely
Once the replacement pane’s sealant has cured for the time stated on its label, inspect the repair in daylight. Look along the glazing line for gaps, lifted sealant, or trapped debris. Open and close the sash gently; it should move without scraping or rattling. Do not press on the glass to test it. A neat edge can still conceal a loose shard or weak spot, so check the corners closely. If the pane shifts or a gap remains, keep the window closed and ask a qualified glazier to assess it.
Wear cut-resistant gloves, eye protection, and sturdy shoes while clearing the work area. The US Environmental Protection Agency’s 2018 construction and demolition materials report estimates that the United States generated 600 million tons of this waste; 145 million tons went to landfill. These figures cover many materials, not window glass alone, but they show why sorting matters. Place small shards between stiff cardboard, tape the bundle shut, and label it clearly. Put larger pieces in a rigid, puncture-resistant container. Check local waste instructions, since flat-glass collection varies by area.
Tips: Use a flashlight at floor level to spot tiny fragments. Don’t sweep shards toward bare feet or put loose glass in a thin bag.
Inspect the Finished Repair and Dispose of Broken Glass Safely
Illustrative planning estimates for a small residential window repair; actual times vary with the amount of debris and the work area. Wear protective gloves and eye protection, collect shards carefully, and place them in a rigid, clearly labeled container before disposal. Follow your local waste-disposal rules.